Studio guide
How to make eggshell mosaic art
Eggshell mosaic — sometimes called rankaku — is a slow, quiet medium. A finished piece can hold months of preparation before the first shard is set. This guide walks through the full method used in the Helsinki studio, from cleaning the first shell to sealing the final panel.
At a glance
- · Time: one to two weeks for a small panel, longer if dyeing
- · Difficulty: patient rather than technical
- · Best for: portraits, still life, architectural detail, botanical subjects
Step 01
Gather materials
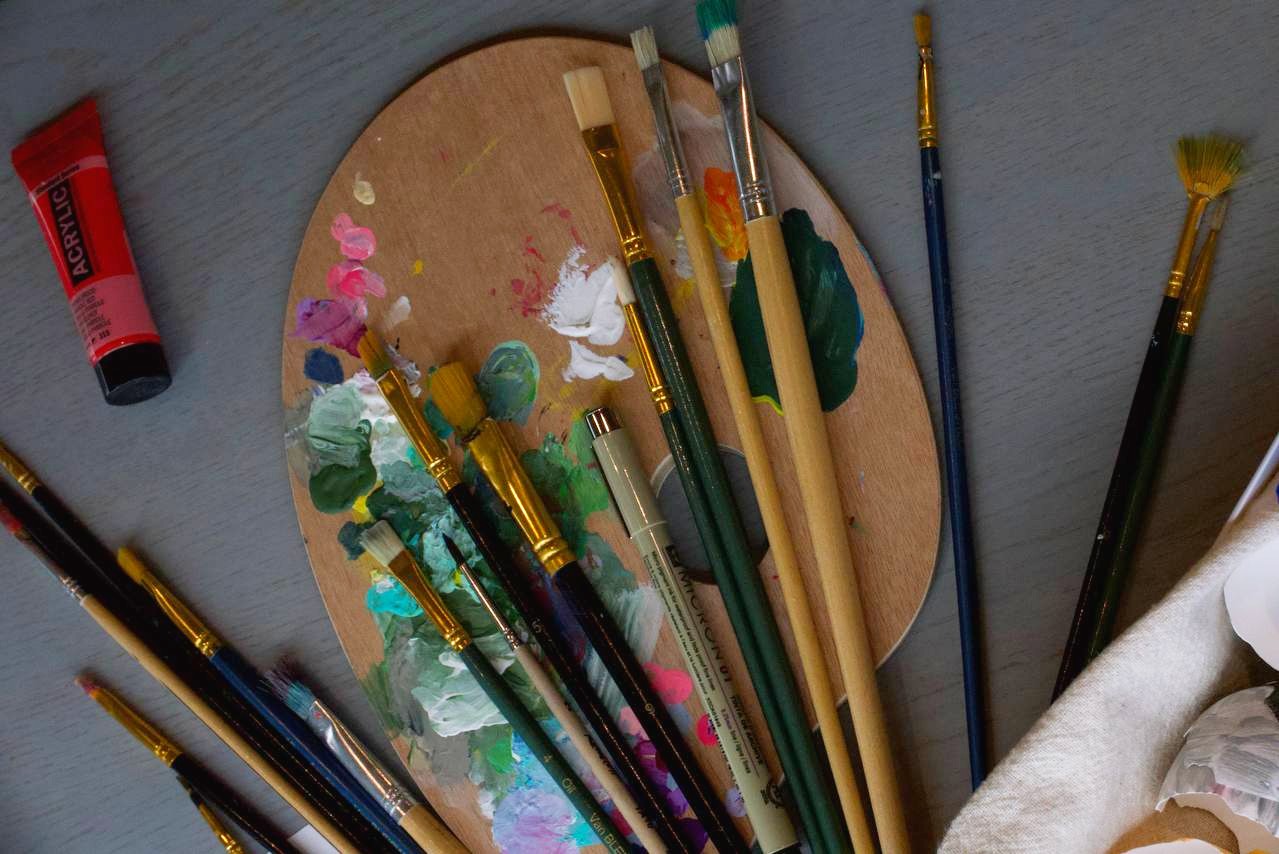
You need eggshells (chicken shells are the workhorse; duck shells give a warmer cream, quail a speckled grey), a rigid wood or MDF panel, gesso, PVA or hide glue, tweezers, a fine palette knife, soft brushes, and matte varnish. Optional but transformative: natural dye baths — walnut hull, indigo, madder root — or diluted acrylic inks for deeper colour.
Studio tip — Save shells for a month before you start. A single A4 mosaic uses forty to sixty shells.
Step 02
Clean and prepare the shells
Rinse each shell in cool water the moment it's cracked — warm water sets the albumen into the calcium and leaves a film that resists dye later. Simmer the rinsed shells in water for ten minutes to sterilise them and loosen the inner membrane. While they're still warm, peel the translucent membrane away with your thumb; cold membranes tear and leave fibres trapped against the calcium that will show as dark specks in the finished piece. Lay the shells concave-side up on folded linen and leave them for at least 24 hours in a low-humidity room.
Studio tip — Never oven-dry. Heat brittles the calcium and the shell will shatter unpredictably when you score it.
Step 03
Dye (optional) and sort by tone
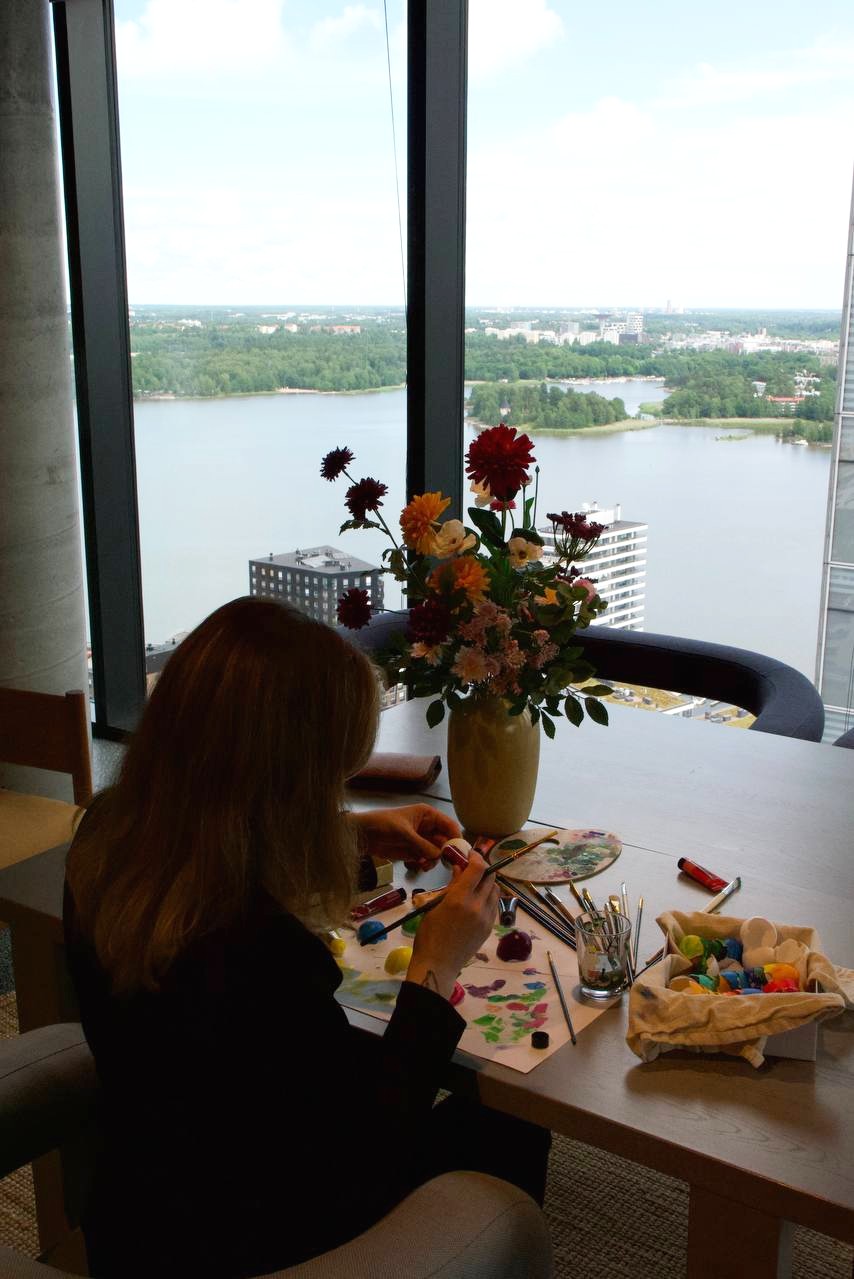
For tonal work, submerge dried shells in a cool natural dye bath — walnut hull for umber, indigo for slate blue, madder root for soft rose — for six to twelve hours. Rinse, dry again on fresh linen, then sort every shell by tone into flat lidded boxes lined with acid-free tissue. Stacked or rolled shells micro-fracture, and those fractures become visible only once they're glued down — too late to repair.
Studio tip — Sort in daylight, not under warm bulbs. Tungsten light flatters umbers and hides subtle blues.
Step 04
Prepare the panel
Choose a rigid support — 6mm birch ply or MDF works well; canvas will flex and crack your finished mosaic within a season. Sand the surface, then apply two thin coats of gesso, sanding lightly between them. The finished panel should feel like fine paper, not plastic. A slightly toothy surface holds the first glue layer far better than a polished one.
Studio tip — Prime the back and edges too. Untreated MDF absorbs moisture unevenly and warps the panel over time.
Step 05
Sketch the composition
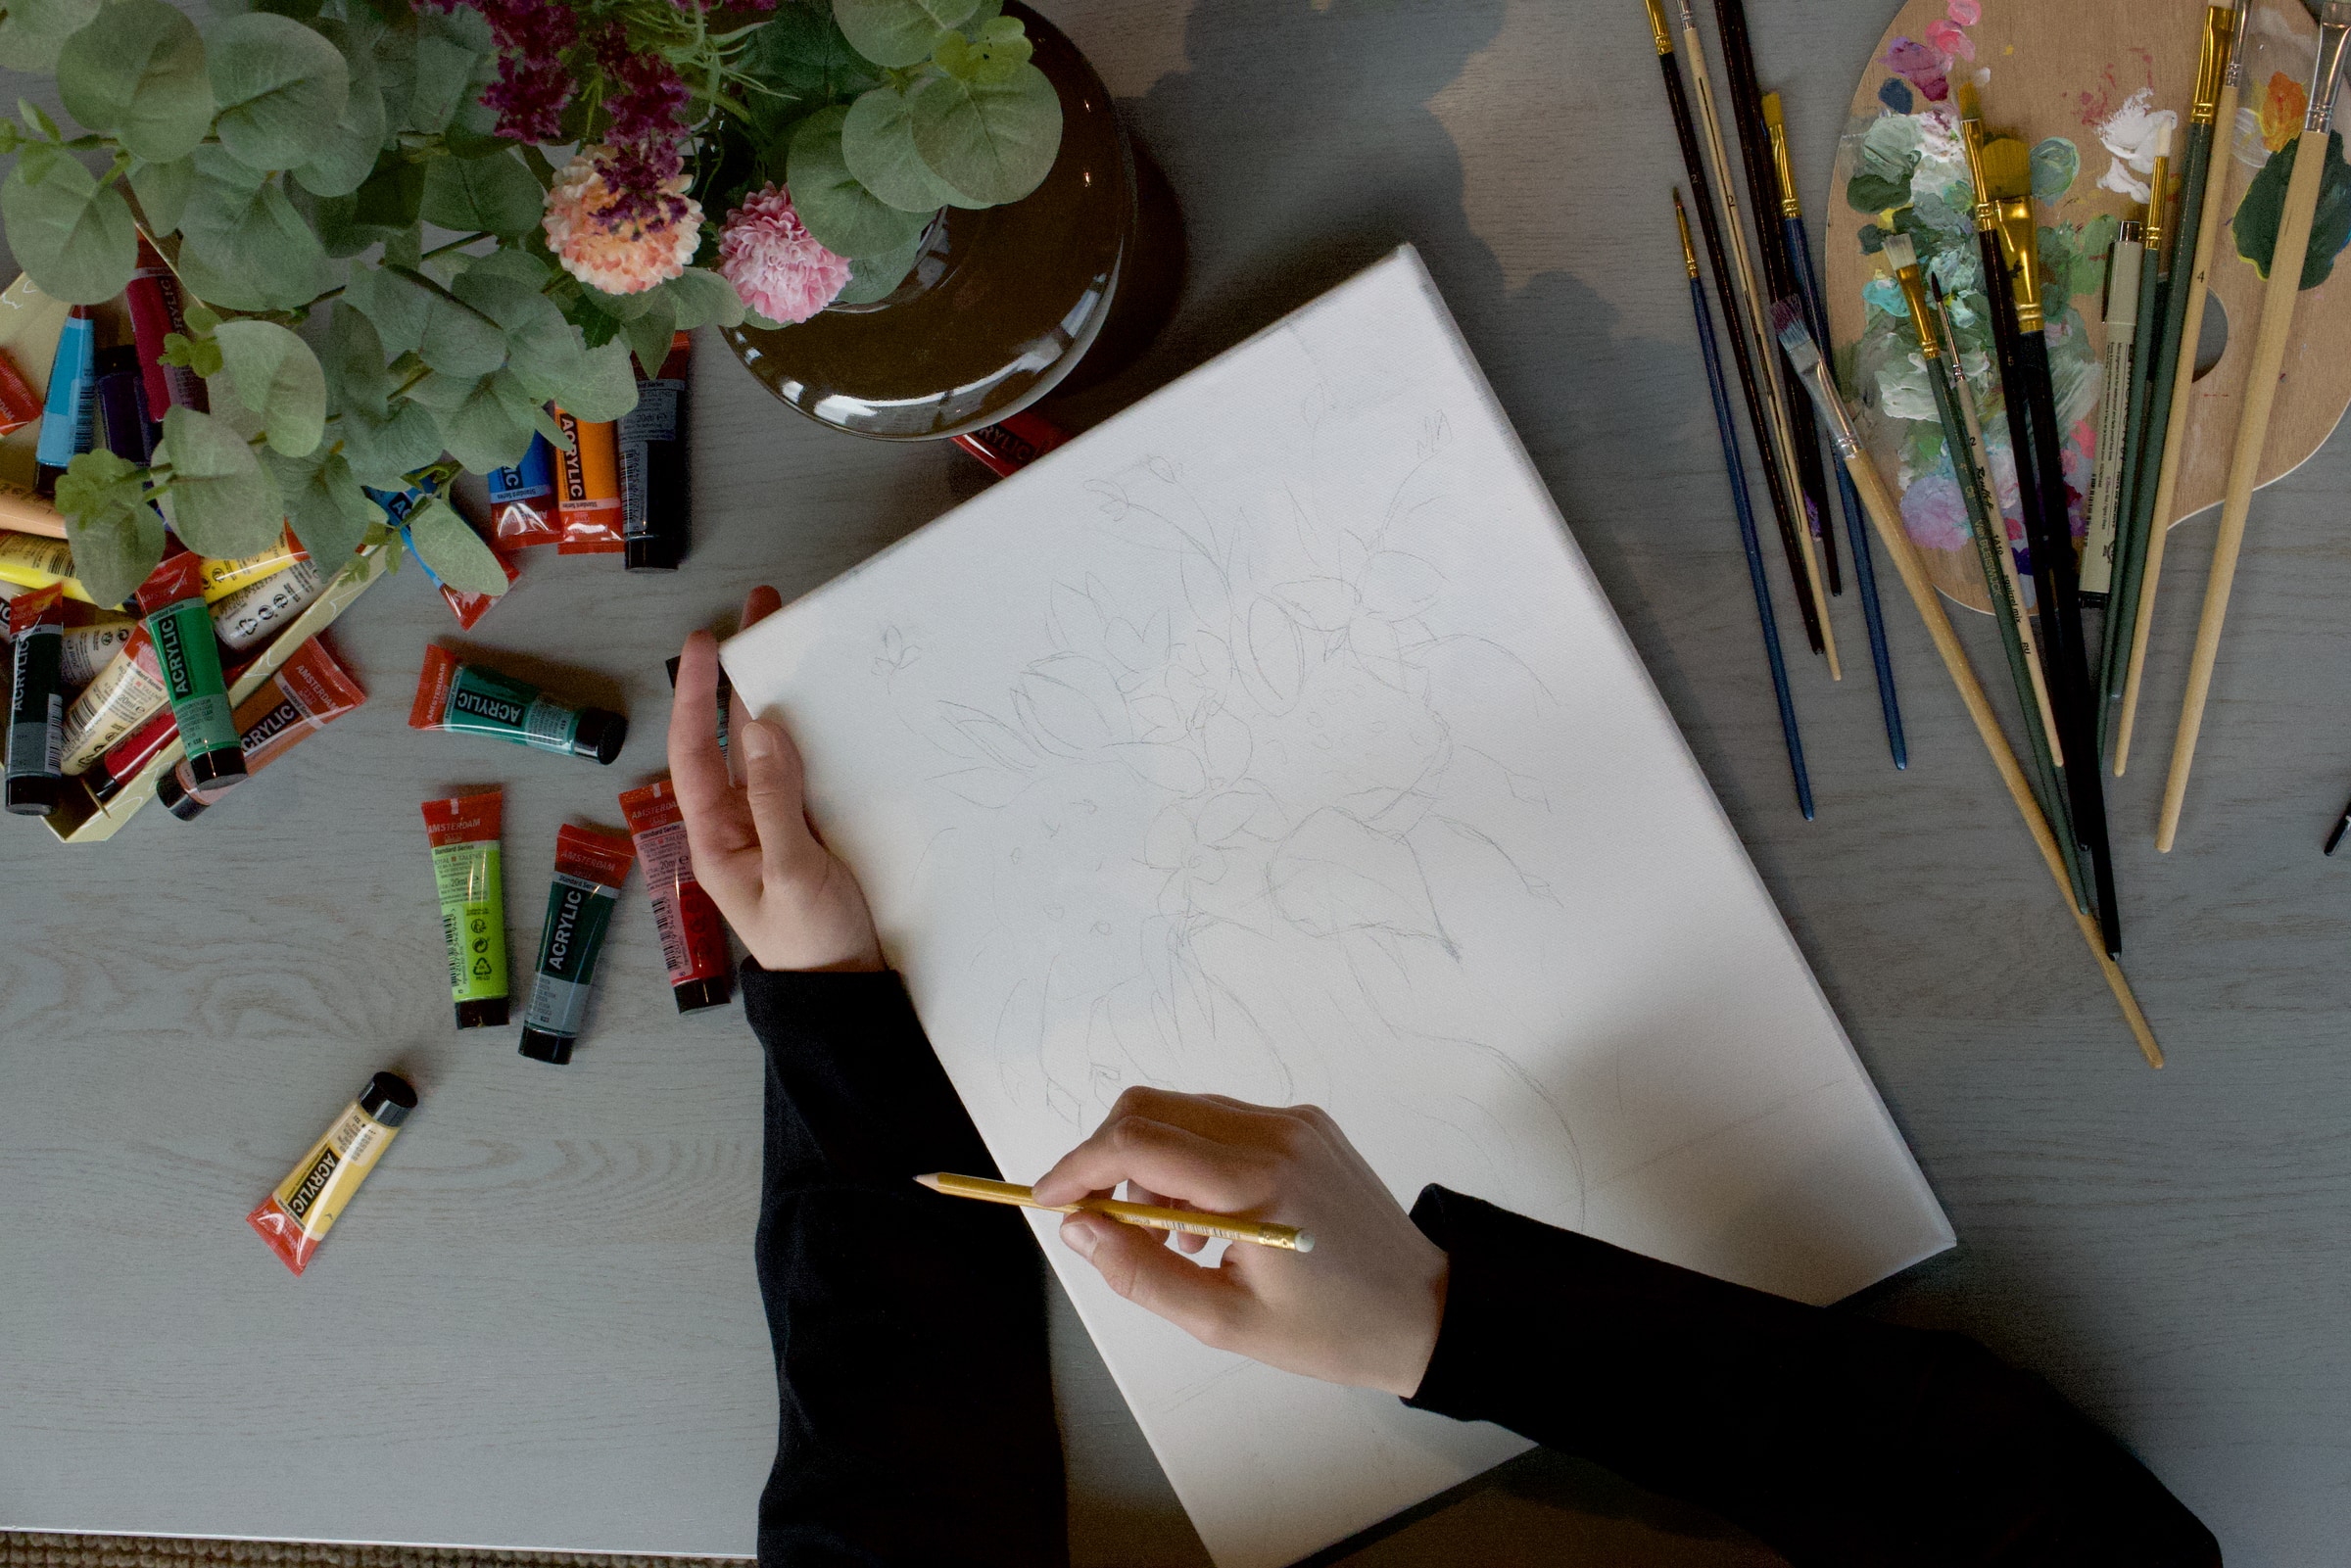
Draw the design lightly on the primed panel with a hard graphite pencil (2H or harder). Keep the drawing to tonal shapes rather than outlines — you're marking where the darks, mids and lights fall, not drawing lines the shells will trace. Simplify aggressively. Mosaic reads at a distance; anything smaller than a fingernail vanishes.
Step 06
Build a working palette
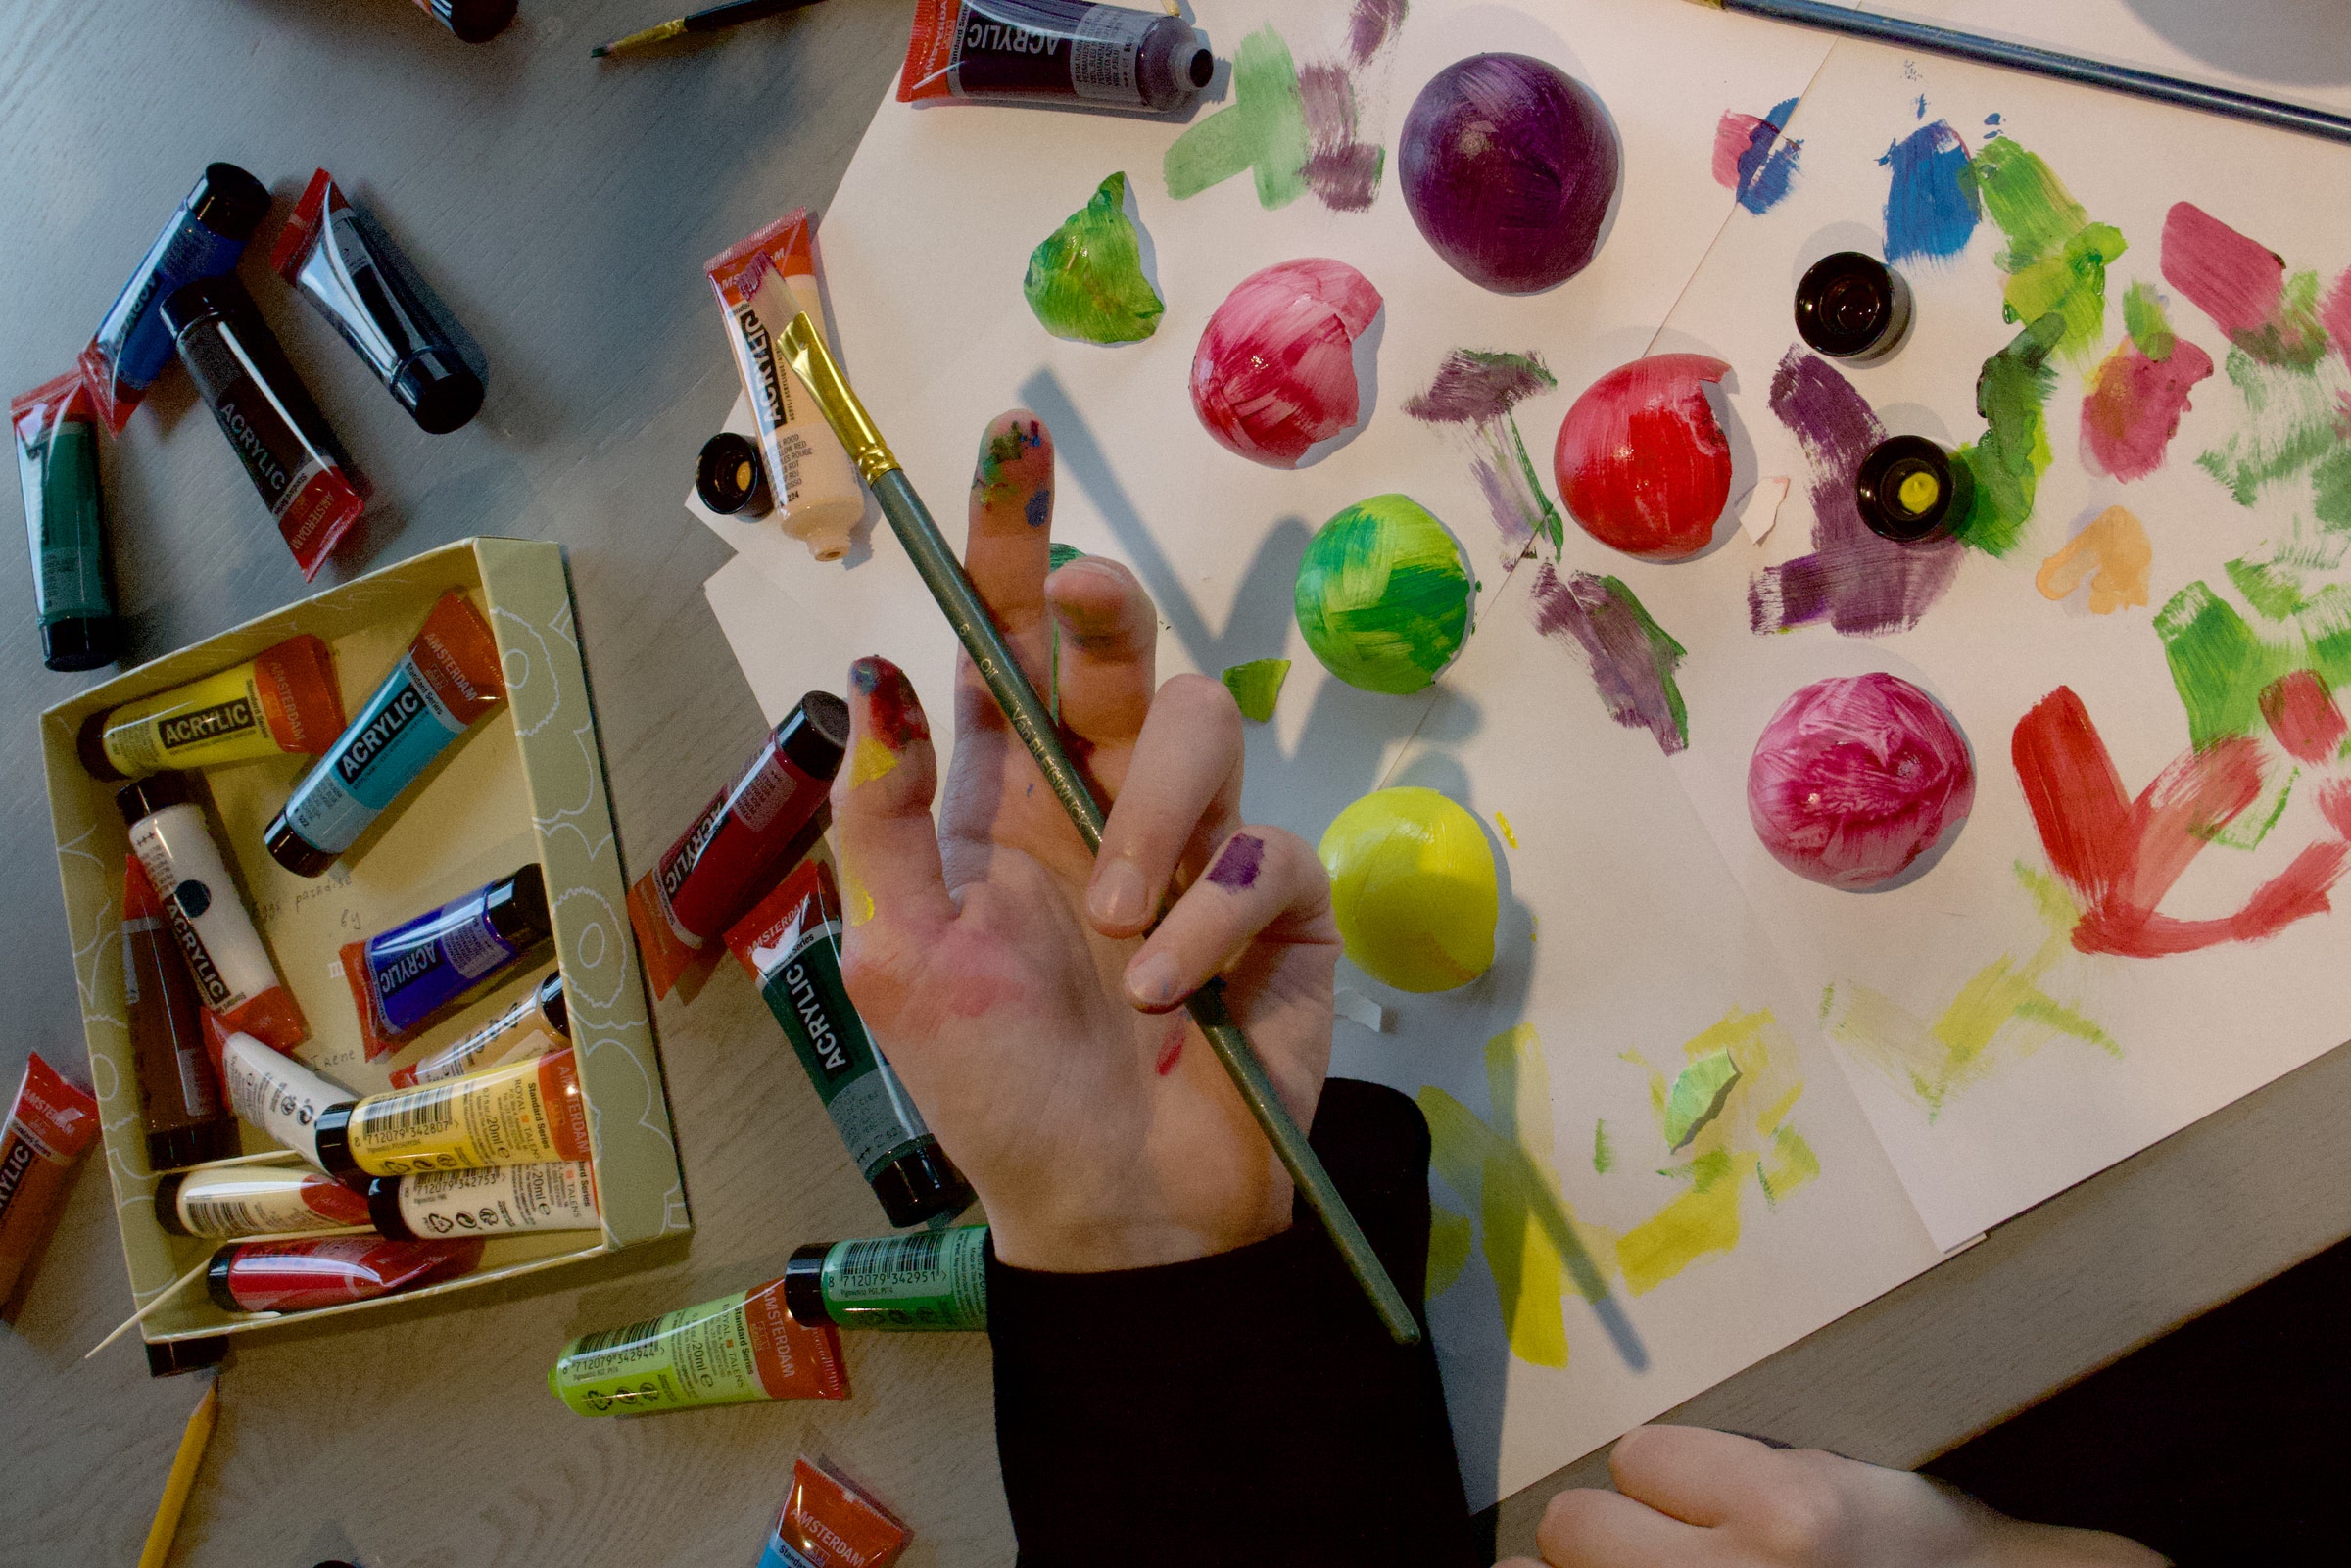
Before placing anything, gather the shells you'll need for the first section into small dishes — a dish for each tone. Working from a fixed palette forces the composition to hold together tonally. Reaching into the general stock mid-flow is how mosaics turn muddy.
Step 07
Place the shells
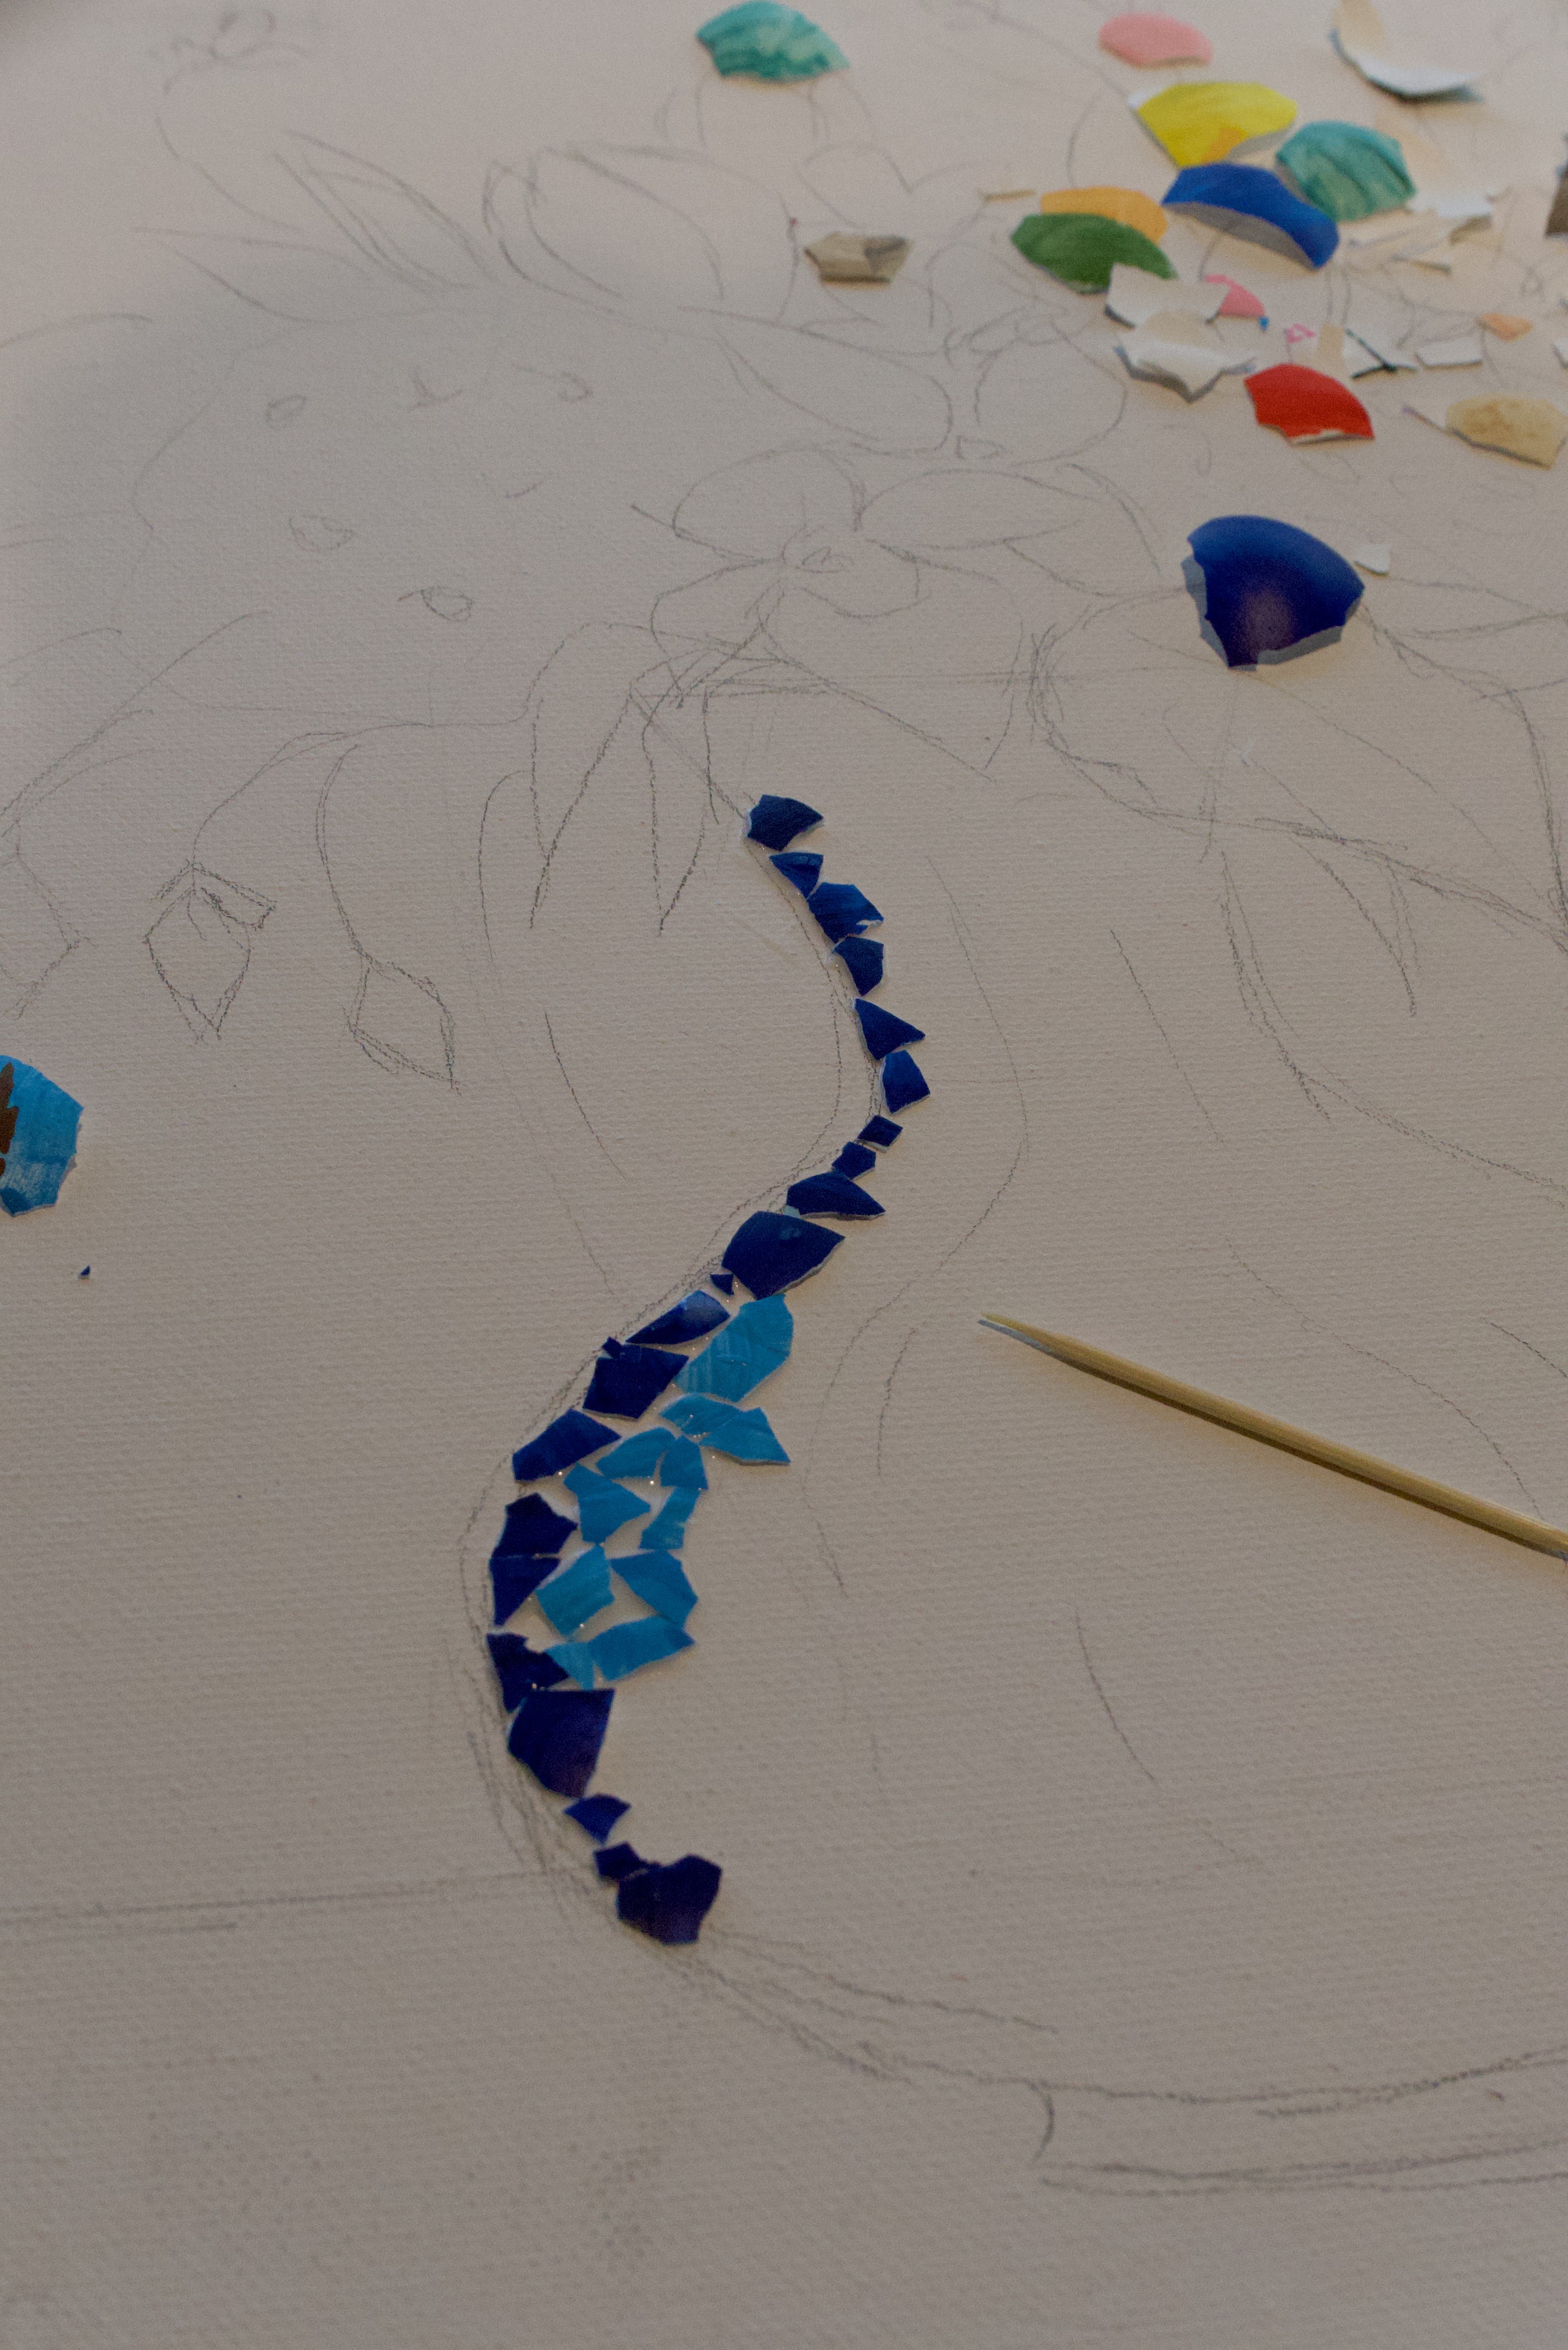
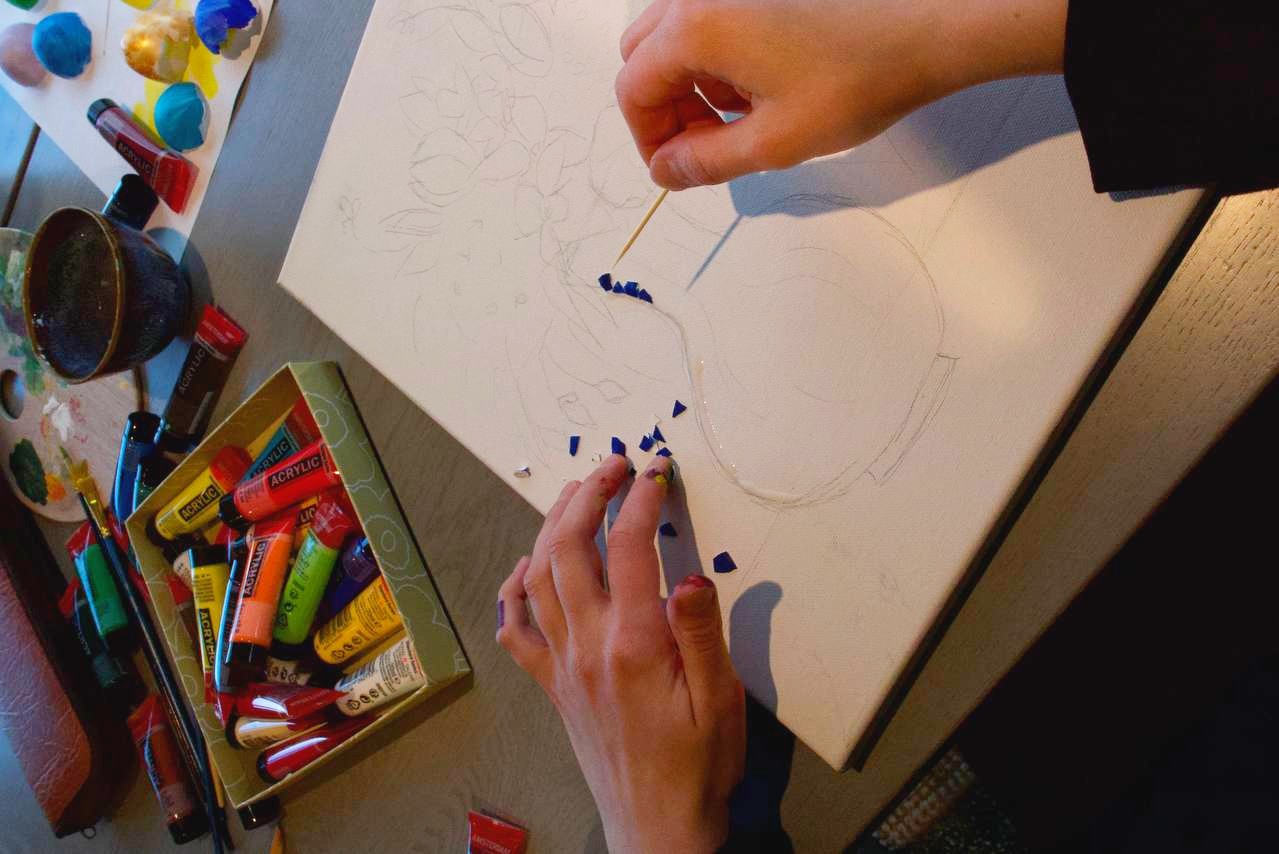
Work in small sections — roughly the size of your palm. Brush a thin layer of PVA or hide glue onto the area, then press each shell face-down (concave side up) with tweezers or fingertip. Press with a bone folder or the flat of a palette knife: the shell crackles into a network of small facets that lock into the glue. Adjust the fracture pattern by pressing harder for tight crackle or lighter for larger plates. Keep every shard within one to three millimetres of its neighbour — even spacing is what makes mosaic read as a surface rather than a collage.
Studio tip — Follow the form. Let the direction of your shells trace the contour of the shape they describe — flesh, fabric, leaves — the way brushstrokes would.
Step 08
Refine the surface
Once a section has set for an hour, go back with tweezers and lift out any shards that stand proud, sit at the wrong angle, or fight the tonal flow. Replace them while the glue underneath is still workable. This edit-in-progress is the difference between a mosaic that reads clearly and one that feels noisy.
Step 09
Cure and finish
Let the finished panel cure flat for at least 48 hours in a dry, dust-free space. Then seal with two thin coats of matte or satin varnish, brushed on with a soft flat and left to fully dry between coats. Varnish deepens the colour of dyed shells noticeably — test on an offcut first if you want to preserve the paler tones. Avoid gloss: it kills the calcium's soft internal glow and reads as plastic.
Studio tip — Sign on the back of the panel, not the front. Signatures placed into the mosaic itself always look like an afterthought.
Troubleshooting
Common problems
- Shells lift or curl after drying
- Glue layer was too thick or the panel wasn't primed evenly. Re-glue individually with a fine brush and press flat for ten minutes.
- Dark specks in white shells
- Membrane fibres trapped in the calcium. Discard those shells — they will keep showing through varnish.
- The mosaic looks noisy up close but flat from a distance
- Too much tonal variation within each shape. Reduce your palette to three tones per shape and rework the transitions.
- Cracking after a few months
- The support is flexing. Never use canvas — always rigid ply or MDF, sealed on all sides.
A few closing thoughts
Eggshell mosaic rewards restraint. The tendency, at first, is to reach for every colour and every fragment — to fill. The pieces that hold up are almost always the ones with fewer tones, larger unbroken passages, and a clearer sense of what to leave alone. Start smaller than you want to. Sort more than you think you need to. Trust the material to do most of the work.